
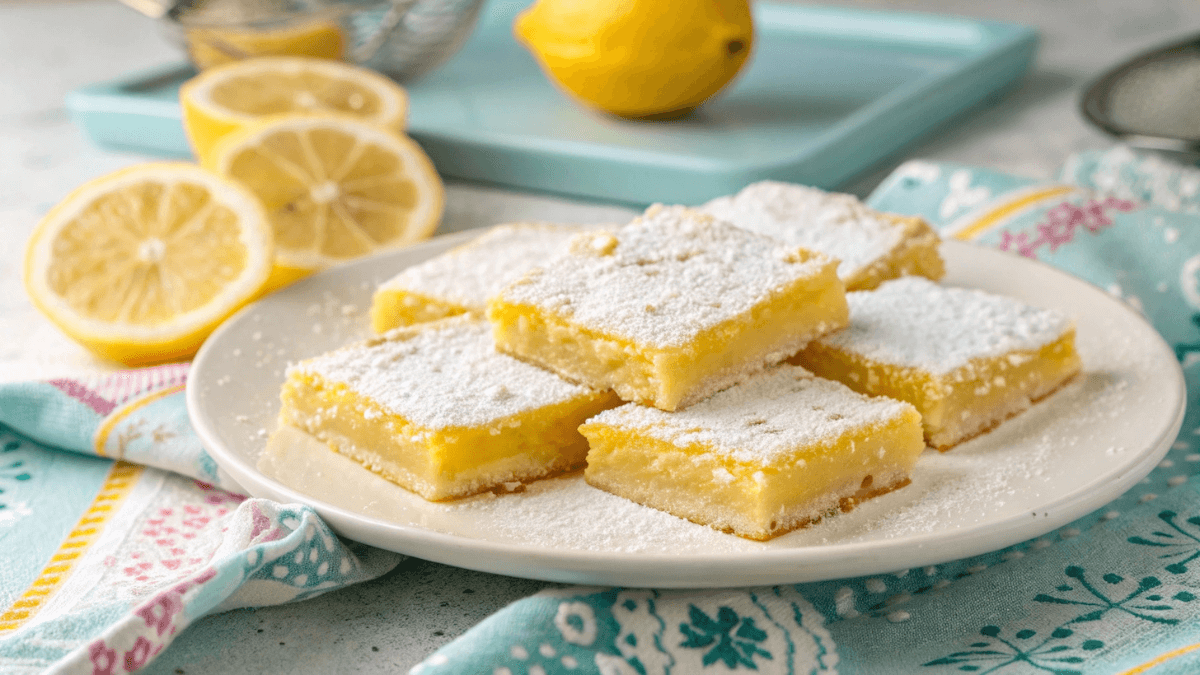
Looking for the perfect summer dessert? These easy lemon bars combine a buttery shortbread crust with a tangy lemon topping that’s bright, zesty, and irresistibly refreshing. Whether you’re hosting a BBQ or need a quick treat, this classic lemon bars recipe is simple, quick, and made with everyday ingredients.
Table of Contents
Why This Is the Best Lemon Bars Recipe
- 🍋 Light and refreshing citrus flavor: The combination of freshly squeezed lemon juice and zesty rind creates a bright, invigorating taste that cuts through the summer heat.
- 🧈 Buttery shortbread crust with a tangy filling: A crisp, golden-brown base provides a rich, satisfying contrast to the silky, lemony topping.
- 🕒 Quick to make with simple pantry ingredients: No need for specialized baking tools or hard-to-find items—just flour, sugar, eggs, and lemons, plus about 15 minutes of prep time.
Ingredients for Easy Lemon Bars
For the Crust
- All-purpose flour: Provides structure and the classic shortbread texture.
- Unsalted butter: Room-temperature for easy creaming; gives the crust its rich, tender crumb.
- Granulated sugar: Balances the butter’s richness and helps the crust brown evenly.
For the Lemon Filling
- Fresh lemon juice: Ties the flavors together—fresh is always best for that true tang.
- Lemon zest: Adds concentrated citrus aroma and a pleasant pop of color.
- Large eggs: Thicken and set the filling into a smooth, custardy layer.
- Granulated sugar: Sweetens the tart lemon—and helps give the filling its glossy finish.
- Baking powder: A small pinch ensures the filling puffs just enough for a tender bite.
Optional finishing touch: Once cooled, dust the bars generously with sifted powdered sugar for an elegant look and an extra hint of sweetness.
How to Make Lemon Bars Step by Step
Preparing the Crust
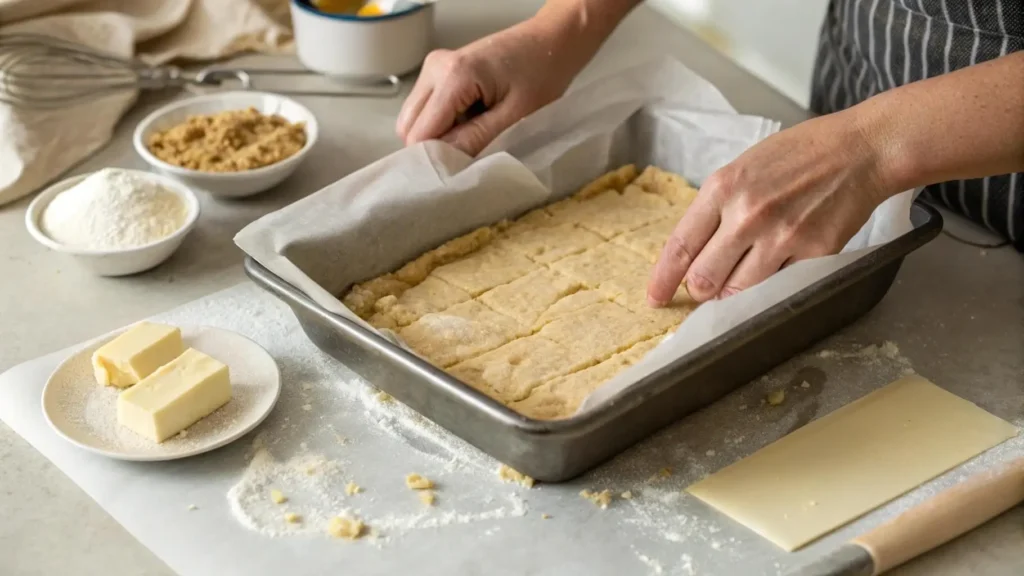
- Mix the crust ingredients: In a medium bowl, cream together butter and sugar until pale and fluffy. Stir in flour until a crumbly dough forms.
- Press into the pan: Line an 8×8-inch baking dish with parchment paper, leaving an overhang for easy removal. Use your fingers or the bottom of a measuring cup to press the dough into an even layer.
- Bake briefly: Preheat the oven to 350°F (175°C) and bake the crust for 15–18 minutes, just until it’s set and beginning to turn golden at the edges.
Making the Lemon Filling
- Whisk the filling: In a clean bowl, whisk together eggs and sugar until smooth. Stir in lemon juice, zest, and baking powder until fully combined.
- Pour and bake: Carefully pour the filling over the hot crust. Return to the oven and bake for an additional 18–20 minutes, until the center is just set (it should still jiggle slightly).
Cooling and Serving
- Cool completely: Remove from the oven and let the bars cool on a wire rack. For the cleanest slices, chill the pan in the refrigerator for at least 1 hour.
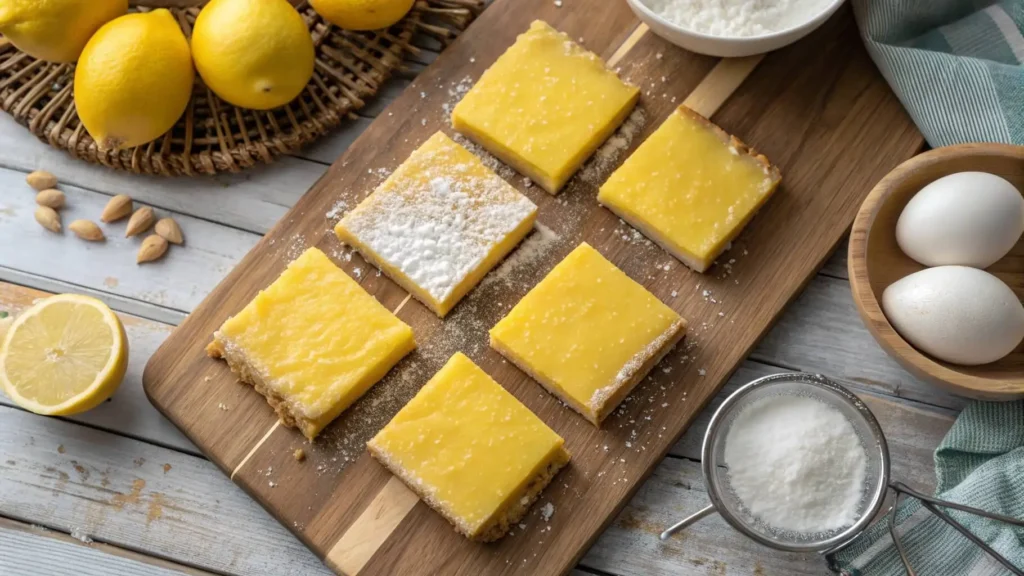
- Dust & cut: Lift the bars from the pan using the parchment overhang. Dust the top with powdered sugar, then slice into 16 squares or 9 larger bars.
Tips for Perfect Lemon Bars
- Use fresh lemon juice and zest: Bottled juice can taste flat—fresh ingredients are the key to that vibrant zing.
- Don’t overbake: The filling should still have a slight wobble when you remove it; it will continue to set as it cools.
- Chill before cutting: Refrigerating makes clean, sharp edges; warm bars will crumble and stick.
- Line with parchment: Prevents sticking and makes removal effortless.
- Sift your powdered sugar: Create a light, even dusting that won’t clump or melt into the filling.
Variations for the Best Lemon Bars
Lemon bars are endlessly adaptable—here are three crowd-pleasing twists to make yours stand out:
- Coconut Lemon Bars
Add ½–¾ cup of unsweetened shredded coconut to your crust mixture for a tropical crunch. You can also sprinkle a tablespoon of coconut on top of the baked filling before the final bake to toast it lightly. The coconut’s nutty aroma complements the citrus tang beautifully, making these bars feel like a sunny island getaway.
- Gluten-Free Lemon Bars
Simply swap the all-purpose flour in the crust for an equal amount of a store-bought gluten-free flour blend (ideally one that already contains xanthan gum). Press and bake as directed—your bars will have the same buttery crunch. For extra stability, you can add 1–2 tablespoons of almond flour to the crust mix. These bars are perfect for guests with dietary restrictions without sacrificing any flavor or texture. - Meyer Lemon Bars
Substitute classic lemons with Meyer lemons—these hybrid citrus fruits are sweeter and more floral, reducing the need for sugar in the filling. Use the same quantity of juice and zest, but start with ¾ cup of sugar and taste-test before adding more. Meyer lemons give your bars a delicate, perfumed sweetness that feels both sophisticated and seasonal.
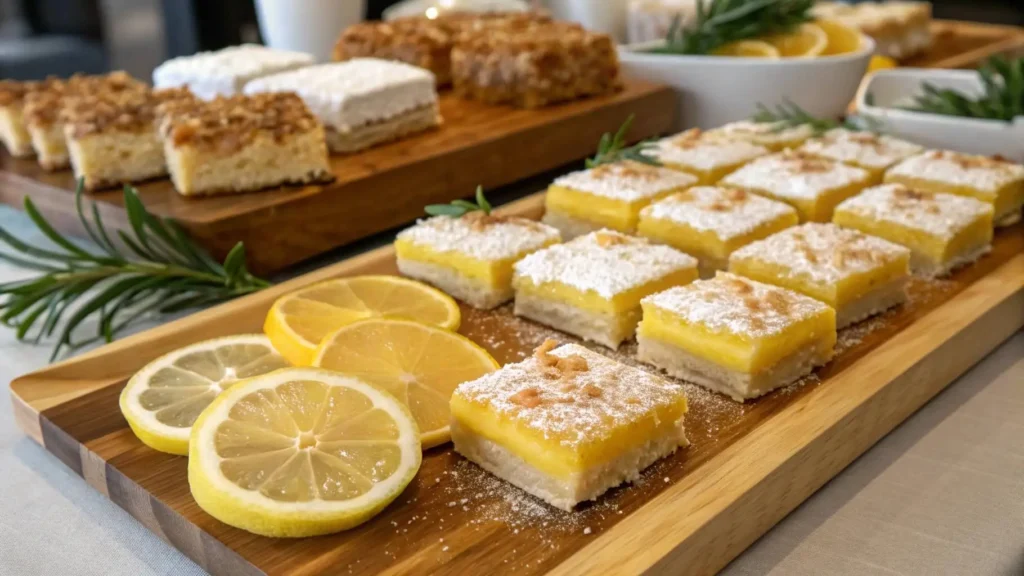
Serving Suggestions
Elevate your lemon bars with these simple pairings and presentations:
- Serve chilled with fresh berries: Arrange a handful of raspberries or blueberries alongside each square for a pop of color and complementary sweetness.
- Pair with iced tea or lemonade: The citrus notes in both beverages echo the lemon bars, making every bite feel extra refreshing.
- Great for picnics, potlucks, and BBQs: Transport your bars on a parchment-lined tray, dusted with extra powdered sugar—easy to grab, share, and enjoy outdoors.
Storage Instructions
Keep your lemon bars tasting their best with proper storage:
- Refrigerator: Place cooled bars in an airtight container, separating layers with parchment paper. They’ll stay fresh for up to 5 days.
- Freezer: For longer storage, wrap individual bars tightly in plastic wrap, then foil, and freeze for up to 3 months. Thaw overnight in the refrigerator before serving.
- Room Temperature: In cooler climates (below 70°F/21°C), you can leave bars at room temperature for up to 24 hours in a covered container—but refrigeration is best for flavor and food safety.
Frequently Asked Questions
Can I freeze lemon bars?
Yes! Freeze individual bars wrapped snugly in plastic wrap and foil. They’ll keep for up to 3 months. Thaw in the fridge before serving.
Why is my lemon filling runny?
Likely because it was underbaked or the ratio of eggs to liquid is off. Bake until the filling just stops wobbling in the center—about 18–20 minutes—and always use the specified egg quantity.
Can I double the recipe for a larger batch?
Absolutely. Use a 9×13-inch pan and increase bake time by 5–10 minutes, checking for that slight jiggle in the center before removing.
What is an interesting fact about lemon bars?
Although their exact origin is debated, lemon bars became popular in America during the mid-20th century, likely inspired by European citrus tarts and American shortbread traditions.
How long do lemon bars stay good?
Properly stored in the refrigerator, they remain fresh for up to 5 days.
How do you know when lemon bars are cooked?
The edges should be set and slightly golden; the center will still have a small wobble but won’t look liquid. It firms as it cools.
Can lemon bars be made ahead?
Yes—bake them a day in advance, chill completely, then dust with powdered sugar and slice just before serving to save time on the day of your event.
Conclusion
From their buttery shortbread base to their bright, tangy topping, these lemon bars are the ultimate summer treat—simple to make, endlessly customizable, and guaranteed to impress. Give this easy recipe a try, experiment with one of the tasty variations, and let us know how yours turned out! If you loved these bars, please leave a comment, share with friends, or pin this recipe for later—happy baking!
There are no reviews yet. Be the first one to write one.